Making the Most of Your Green Screen Studio Time

green screen studio

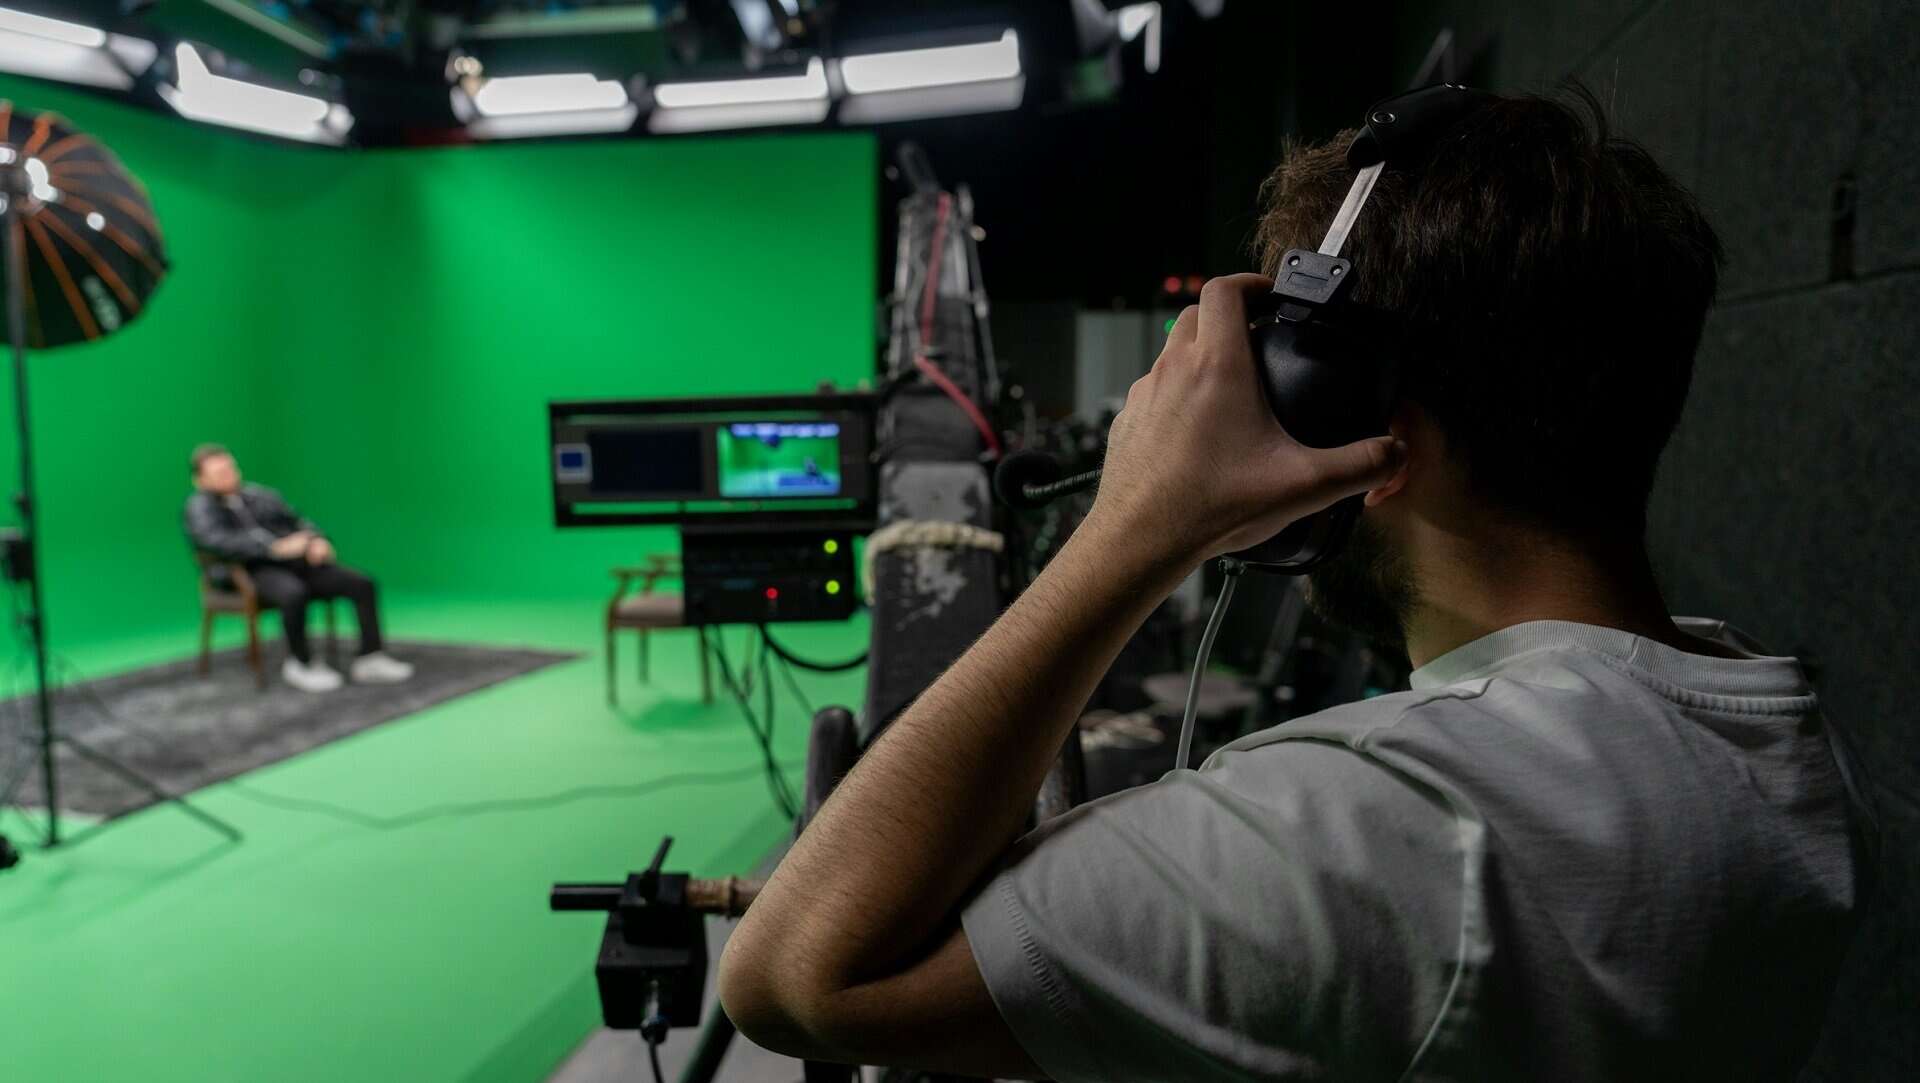
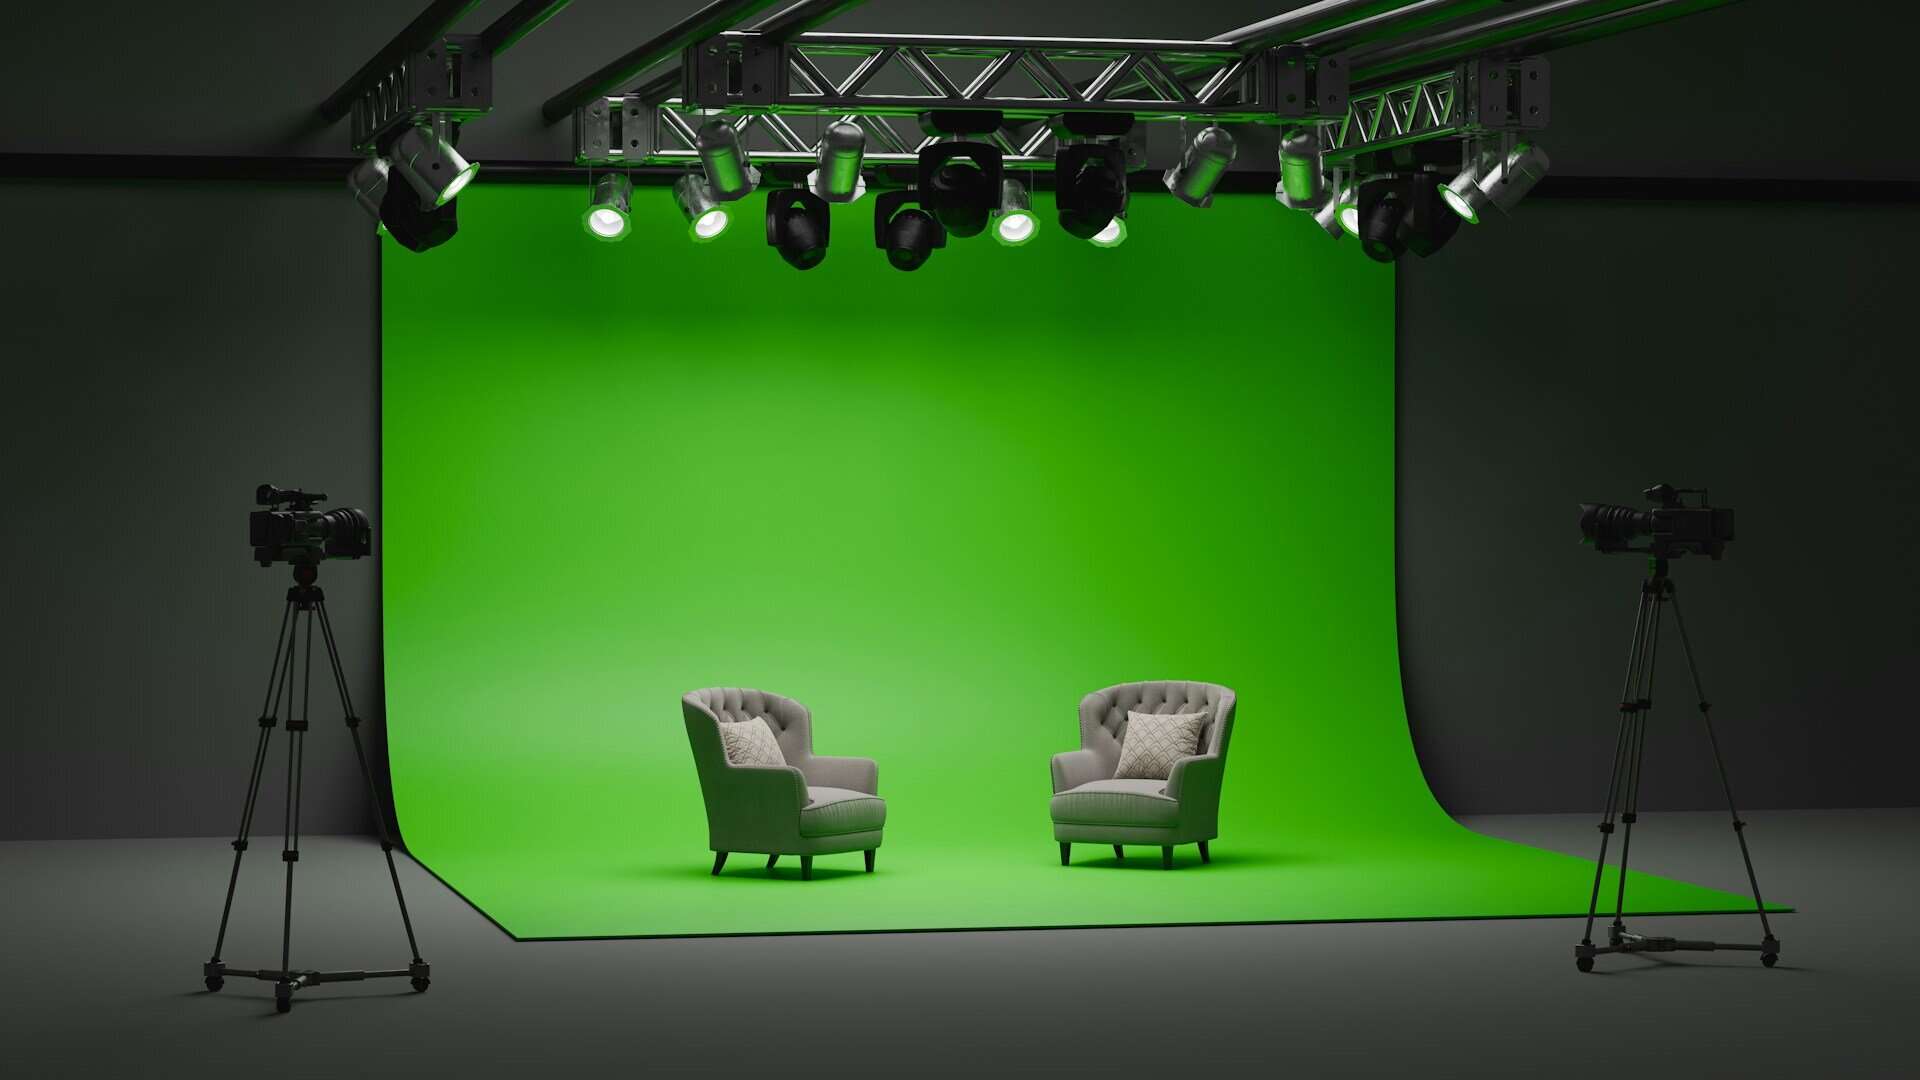
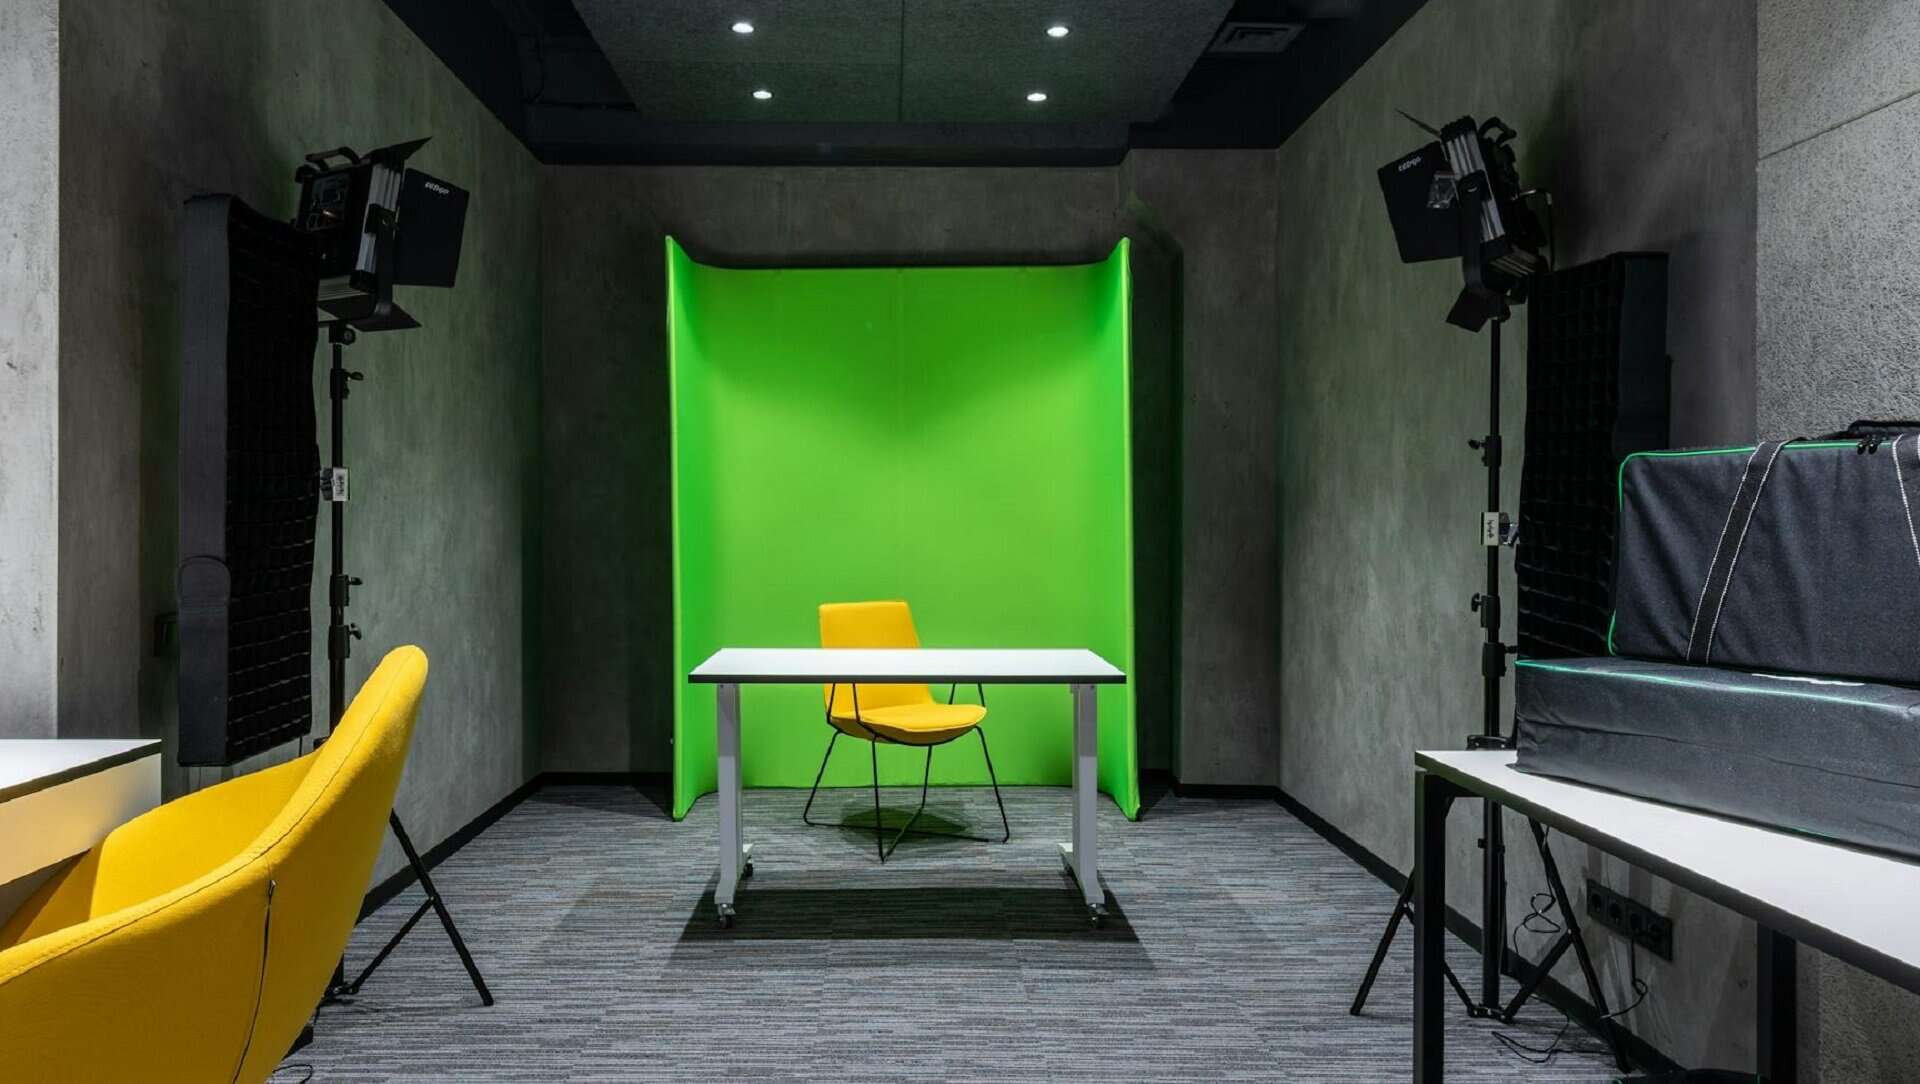
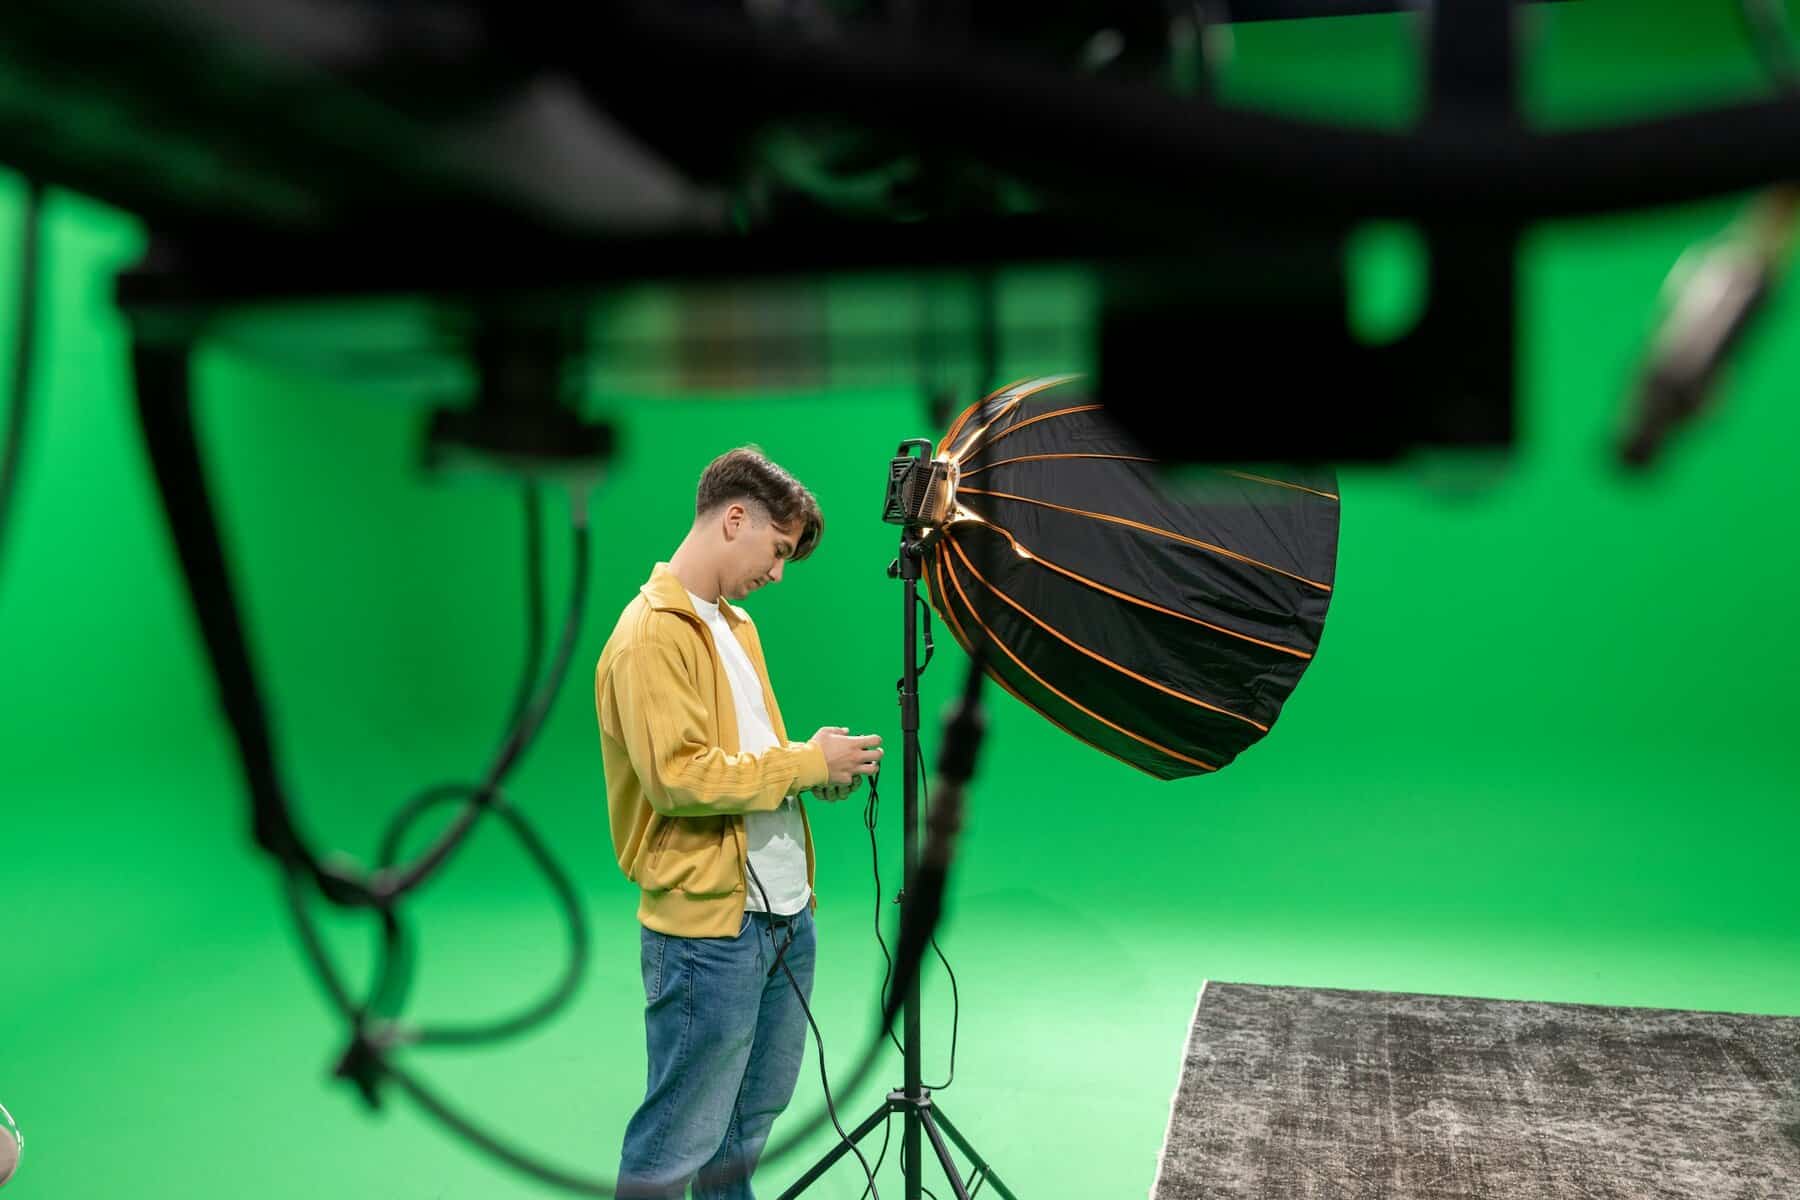
Renting time in a green screen studio opens the door to all sorts of creative work. Whether you’re working on a commercial, producing a new jingle package, or filming a video for your brand, making the most of each minute in a rented space can save both frustration and money. Post-production is only part of the story. The real difference often happens in how prepared you are when you walk into the studio.

If you’re searching for a green screen studio rental in Cincinnati and planning to create commercials, jingles, or other branded content, a little advance planning will go a long way. It’s not just about showing up. It’s about using your session wisely to bring your ideas to life without running out the clock. The more organized you are from the start, the smoother it’ll go once the lights come on and the camera starts rolling.

Planning Your Shoot

Before stepping into any studio, the smartest move is creating a clear plan. This helps avoid wasting time and energy when you’re on the clock. Whether you’re filming a direct-to-camera script or producing a video that brings a jingle to life visually, having a plan easily shaves off delays.

A solid pre-production plan should include:

  • A detailed shot list: Write down every shot you need, from start to finish, including angles, transitions, and any props or costume changes. If jingles are involved, think about matching visuals to the musical beat or lyrics.
  • A script or storyboard: Think of this like your blueprint. It lets everyone from producers to talent know what’s happening next.
  • Timing plan: Estimate how long each section will take. Budget in a little room for retakes, but keep things tight so each moment counts.
  • Talent and crew updates: Send out your plan in advance to everyone involved so people can ask questions before showing up. Less confusion means more shooting.

It may seem like a lot of prep, but this saves time once you’re inside the studio. Even a 20-minute delay planning shots can throw your whole session off track. Simple steps at this stage make way for better-looking final products that are on brand, well-paced, and useful for marketing now and later.

Setting Up The Green Screen

Once you’re inside the studio, setup matters. No matter how creative the vision is, the wrong screen or light setup can make editing a nightmare. It doesn’t take much—an uneven screen, a strange shadow, or poor lighting can leave your footage unusable for post-production. If you’re adding jingles or music in later, the visuals need to be clean and crisp enough to blend with those elements smoothly.

Here are a few things to focus on when setting up your green screen:

  1. Make sure the green screen is completely stretched out. Wrinkles or sags throw off even lighting and create strange shadows.
  2. Use soft, even lighting from both sides and above, if available. Hot spots or dark corners make keying much harder later.
  3. Keep a decent distance between your subject and the green screen. This stops green reflections from bouncing onto clothes or skin.
  4. Avoid green in wardrobe or props—it will disappear in post-production.

One example: someone once brought a prop guitar with green trim for a music shot. It looked great in person, but on screen, the trim turned invisible during editing and ruined the take. It’s small details like that which are easy to miss but could eat up massive time during post-editing if not addressed early on.

Taking the time to get the background right gives you sharper footage and guarantees your video and music elements match up with less work later. This also helps when syncing voiceovers, music jingles, or sound effects that are often layered in later stages.

Utilizing Technology And Tools

Good equipment helps, but knowing how and when to use it matters even more. When you’re inside a green screen studio, time is limited, which means everything from cameras to software should already be dialed in. If your shoot includes jingle production, commercial video, or social content, every piece of gear and tech needs a role and a reason.

First off, make sure your camera settings are tested before you start rolling. Simple things like frame rate, resolution, or white balance can derail a clean edit if they’re off. Studios often provide tools like boom mics, green screen backdrops, and rigs for steady shots, but you’ll still need to bring or rent things like hard drives, extra batteries, and backup memory cards.

Post-production software also plays a big part here. If you’re editing with green screen effects, software like Adobe Premiere Pro or DaVinci Resolve can save time, especially if you’re layering in jingles or voiceovers. Plugins and templates can speed up transitions or animation effects. Even more basic apps like Final Cut can do the job well if your setup is simple.

Here’s where having a skilled crew really makes a difference:

  • Camera operators who know how to frame for green screen space
  • Sound engineers who understand clean vocal recording to go with your jingle
  • Editors who can pull clips together quickly and adjust colors, lighting, or match audio

If your team doesn’t include tech-savvy folks, it’s worth hiring help before you head into the studio. You don’t want to be figuring out software settings or mic levels when the clock is ticking on your studio time. Every piece of tech should work for you, not against you.

Incorporating Multimedia Elements

On a green screen, the final product leans heavily on what you add later like sound, motion graphics, and musical layers. Even with perfect lighting and camera work, a bland edit can fall flat without good multimedia integration. That’s why planning your audio and visual matchups ahead of time has a real payoff.

If you’re incorporating jingles, consider how the visuals will change with each beat or chorus. Short cuts between product shots, brand visuals, or on-screen text engage better when they move with the rhythm. Sound effects also add energy, especially for transitions or scene changes. Timing matters more than most people think. Sloppy timing can throw off the viewer and make even the most expensive jingle feel out of place.

Here are a few ways to combine multimedia for better results:

  • Use music cues to guide your edit points or title cuts
  • Add lower thirds or graphics that animate in sync with voiceover narration
  • Include sound effects that pop like swishes or clicks that follow camera movement
  • Mix footage with branded audio to tie in your message
  • Match lip sync accurately if recording voiceover during or after the shoot

One time, a brand paired a simple green screen shoot with custom music but forgot to align their video cuts with the changes in the melody. Their final video felt off, even though the visuals and audio were both high quality. They ended up re-editing everything to fix the pacing. Syncing jingle hooks to movement or text isn’t hard to do with a clear blueprint. It just takes a few extra minutes of planning.

Whether you’re filming for paid media spots or running campaigns through social channels, the way music, sounds, and visuals stack together says a lot about your brand’s polish. A well-produced video sticks around longer in people’s minds.

Wrapping Up Your Session Efficiently

In a green screen studio, wrap time arrives fast. It’s easy to assume you got it all and realize later that a key shot is missing or a sound file didn’t save properly. Before you break down, take a moment to confirm everything is how it should be.

Start with a playback session right there in the studio. Quickly rewatch takes to check for simple issues like poor focus, bad angles, or lighting glitches that weren’t obvious while shooting. If your session involves jingle playback, make sure the recorded takes line up with the music or beats. It’s better to reshoot while you’re present than try to fix things later.

When it comes to packing up, stay organized so nothing gets left behind. Store mics, cables, and props in labeled cases or bags. Double-check battery chargers or rented gear, and be sure any footage is downloaded and properly backed up before you leave. Cloud storage or an external hard drive can make a big difference if something goes wrong on the road.

Here are a few tips to help wind things down cleanly:

  • Wrap props or delicate equipment first
  • Label drives or folders as you save your files
  • Return any rented items clean and ready for the next user
  • Do a final walk-through to make sure nothing’s left behind

Getting everything in order not only helps you leave the studio in good shape, but it also makes your editing process easier. When files are sorted, backups are secure, and footage has been reviewed, you’ll head into post-production with confidence.

Let Your Creative Work Stand Out

When used with purpose, a green screen studio is more than just a space with lights and a backdrop. It’s where creative ideas, sound, and visuals come together to tell a brand’s story. But to get there, each step from planning to packing has to be tight. Skipping even small details in the setup or workflow can slow everything down and cut into your results.

Whether you’re producing a lively commercial jingle, filming scenes for a promo, or recording voiceover content, how you manage your studio time directly affects how polished that final video will look and sound. Good planning, smart use of tech, and seamless multimedia all play a part.

And if you’re considering a green screen studio rental in Cincinnati, running through this checklist before your shoot will keep your projects moving faster and your results looking cleaner. It’s not about rushing. It’s about being ready. Being prepared means more time spent on the fun stuff, like tweaking visuals and perfecting your audio mix, and less time scrambling for a missing cable or fixing lighting problems in post.

To make your next production stand out, consider booking a green screen studio rental in Cincinnati with Killerspots Agency. Our team can help bring your creative vision to life with professional support and high-quality studio space. Call us at 513-270-2500 to discuss your project or schedule your time.

Green Screen Recording Tips for Professional Results

green screen

Green screen production gives you the power to place any background you want behind your talent. Whether you’re filming a video commercial, a promo for a radio spot, or a jingle presentation, using a green screen lets you stay flexible with your visuals. It’s especially useful when you’re shooting content that needs to feel custom or branded. But just stepping into a green screen studio won’t guarantee great results. It takes proper planning, setup, and a few techniques to avoid the common mistakes that can ruin the final shot.

When you want your production to look sharp and feel real, you’ve got to pay attention to the details early in the process. One uneven wrinkle, random shadow, or missed camera setting can throw off the entire video. That’s why the best results go beyond just hitting record. Whether you’re producing a music jingle promo or a video clip to support your radio campaign, getting things right in the green screen studio will save a lot of pain during post. Below are a few key ways to record with purpose and keep your footage clean.

Choose The Right Green Screen For Your Project

Not all green screens are created equally, so if you’re walking into a studio or renting one for a shoot, it’s smart to know what you’re working with. The material, color tone, and size can make a big difference in your final look.

Here are some things to think about when picking the best green screen setup for your job:

Material Type

    • Fabric green screens are soft and portable. They work well for quick setups but can wrinkle, which causes shadows and editing issues.
    • Paint green screens are found on cyclorama walls in studios. They’re smooth and great for full-body shots or group frames.
    • Pop-up screens are fast to set up and use. These are good for tighter spaces or smaller-scale recordings.

    Matte vs Glossy

    Stick with matte finishes. Shiny screens reflect light, making clean keying harder later.

    Color Consistency

    Some cheaper materials don’t hold a strong, even green tone. A slightly off color can make editing harder, especially when matching skin tones or working around complex edges like hair.

    Size of the Screen

    If the frame is tight, a smaller backdrop might work. But for full-body jingles or collaboration-style video shoots, you’ll need a larger setup that covers the floor and allows for depth.

    Where You Record

    Spaces with controlled lighting work best. Whether you’re in a green screen studio rental in Cincinnati or a custom-built set, what matters most is having enough room to light evenly and move around your subject.

      Picking the wrong screen can leave you struggling in post-production. Choose wisely and you’ll avoid wasted time and cleaner edits from the start.

      Lighting Techniques That Make Or Break The Shot

      Lighting the green screen properly is likely the most important part of this process. A strong recording starts with separate light for your background and your subject. Done right, it creates depth and avoids shadows that make your footage look fake or messy.

      Here’s what we recommend:

      • Use two softbox lights or LED panels placed evenly on both edges of the green screen. This gets you flat, even coverage with fewer shadows.
      • Light your subject with a different set of lights. Give them enough distance from the backdrop so they don’t cast shadows on the green screen surface. Three-point lighting tends to work best here.
      • Throw in a backlight or a subtle hair light to outline the subject from behind. This adds separation and helps reduce color spill during editing.
      • Don’t use colored bulbs or lights. They can alter the green shade and confuse chroma key software.

      These are some lighting mistakes that tend to show up in post:

      • Wrinkles and folds casting shadows
      • Bright outfits reflecting the green screen color
      • Being too close to the backdrop and catching green on clothes or skin

      Lighting isn’t about looking fancy. It’s about staying clean and consistent so your editing software can easily separate foreground from background. Smooth lighting setups save you time and improve the look of your entire video.

      Camera Settings And Angles That Matter

      You’ve got the lighting dialed in and the green screen ready. Now you need to make sure the camera isn’t causing more work later. Camera settings are often where small mistakes creep in—ones that can be hard to fix in post.

      Start with your white balance. Match it to the lighting setup. If you’re using daylight-balanced lights, set your camera to daylight or manually adjust the balance so everything looks accurate. A proper white balance avoids strange color tones, especially on skin.

      Keep your subject sharp. Set the focus carefully—especially on the eyes—and avoid exposure that makes faces look too bright or washed out. A mild underexposure is usually easier to adjust than an image that’s blown out.

      Positioning also matters quite a bit:

      • Use a tripod to keep your camera still. Sudden movement can affect the clean look you’re aiming for.
      • Frame your subject a few feet in front of the screen to reduce the chance of any green reflecting onto their body.
      • A wider aperture (lower f-stop) softens the background and keeps the subject sharp. This helps create separation and gives the final edit a more natural feel.

      If your recording involves movement, rehearse the action before you start. Any quick or erratic motion near the frame’s edges can cause blur, making the key harder to clean up. Keep it controlled and aim for steady, natural movement.

      Editing Tips To Clean Up Your Green Screen Footage

      Once you’ve shot your green screen footage, the editing phase is where it all starts to come together. This is where the background is removed and your chosen visual setting is dropped in. If you got the earlier steps right, you’re already ahead of the game.

      Follow these post-production tips to help clean up your footage:

      1. Use the Right Chroma Key Tool: Most pro editing software—like Adobe Premiere, Final Cut Pro, or DaVinci Resolve—has solid chroma key tools. Look for one that gives you clear control over transparency and edges.
      2. Fine-Tune Matte Settings: Use feathering and light edge blur to blend your subject naturally. If the outline is too sharp, your subject will look pasted on. Too soft, and it’ll feel blurry.
      3. Clean Up Color Spill: Watch out for green tint around hair or shiny clothing. Many tools now allow for spill suppression or tone correction, which helps remove that halo effect.
      4. Match the Lighting of the Background: Don’t let your subject and your new backdrop fight each other. If one is lit differently than the other, it becomes noticeable fast. Apply some gentle color grading if needed to get them in sync.
      5. Stick With High-Quality Backgrounds: Avoid using pixelated or low-resolution visuals as replacements. Your green screen footage is high-quality—your background should meet that same standard.

      Getting lazy during editing can ruin what might’ve been a great shot. Take the time to go frame by frame if you need to fix small things. This is especially important if the final piece is meant to support a radio jingle or any paid promotion. Viewers remember visual glitches just as easily as a catchy line.

      Setting Yourself Up for a Cleaner Finish

      Green screen technology is a valuable tool for modern jingle production and radio ad visuals. When used correctly, it helps you build out a full message that sticks with your audience. But like anything in production, it takes good prep and solid technique to make it work well.

      Get the screen right. Light it cleanly. Set your camera carefully. Take your time in post. All those little steps play a part in how good your final product looks. Viewers might not know the terms, but they’ll feel the difference between a smooth presentation and something that comes off sloppy.

      If you’re using green screen footage as part of a full campaign, especially in connection with a jingle or radio commercial, its success leans on how it’s handled from shoot to delivery. Good choices on set make life easier for your editors and give your team footage they can be proud to share.

      Keep these tips in your back pocket the next time you’re working in a green screen studio rental in Cincinnati. From pre-production to polishing off the edit, aiming for quality upfront saves your team time and boosts your chances at grabbing your audience’s attention.

      Ready to take your video production to the next level? If you’re planning a shoot in Cincinnati, consider enhancing your project with a green screen studio rental in Cincinnati to support your jingle or radio commercial. Reach out to Killerspots Agency, and let’s help create a space where your vision truly comes to life. For more details or to discuss your upcoming project, feel free to contact us today at 513-270-2500.

      Green Screen Studio Setup Tips for Beginners

      green screen for beginners

      A green screen studio can open the door to some pretty creative results, especially when it comes to recording jingles, radio commercial visuals, or even promotional videos. Whether you’re a voice actor looking to expand your setup or a business venturing into digital content, having a well-put-together green screen space makes a big difference. It lets you add vibrant backdrops, animated logos, or branded settings that look sharp and professional without leaving your studio.

      Setting one up might seem overwhelming at first, but it really doesn’t have to be. With the right tips, beginners can avoid frustrating mistakes and get better results faster. If you’re thinking about trying your hand at any kind of digital production work, from radio commercial visuals to jingle content videos, this will get you headed in the right direction.

      Choosing The Right Space

      Before you buy a single light or plug in a camera, you’ve got to find the right space for your studio. Start by looking for a place with clean walls, a flat surface, and minimal noise. Empty rooms or unused offices work well. If you’re using a garage or basement, just make sure there’s enough room to move around safely and place equipment without tripping over wires.

      Even the best tech setup can fall apart with the wrong environment. Sound can bounce off walls and ceilings if the room has too many hard surfaces, which can ruin audio quality. Poor lighting or strange angles can also mess with your video clarity. To avoid these issues, keep a few things in mind:

      • Pick a space with high ceilings so you can hang lights without them getting into the camera frame.
      • Pay attention to natural light and how it changes during the day. It can make lighting harder to control.
      • Adding rugs or some padding can improve sound by cutting down echo.
      • Avoid tight corners, since they tend to trap sound or create dark shadows.
      • Get blackout curtains if too much light pours through the windows.

      Comfort is another thing to think about. If you’re working in a tiny space and it gets stuffy or noisy, your performance might suffer. Whether you’re working on a jingle or a product video, a comfortable space helps you stay focused and sharp.

      Equipment Essentials

      Once your space is locked down, it’s time to talk gear. You don’t need to buy every piece of equipment on the market. Start with just what you need to get quality recordings going. A steady upgrade later is always possible, but nailing the basics first makes everything simpler.

      Here’s a quick list of what most beginner green screen studios need:

      1. Green screen fabric or kit: Make sure it’s wrinkle-free and large enough to cover the entire background of your shot without edges showing.
      2. HD or 4K camera: A decent video quality is key. Entry-level mirrorless cameras or even high-quality webcams can do the trick starting out.
      3. Tripod: Keeps the camera steady. Without it, even the smallest shake can mess up a perfect take.
      4. Lighting: At least two softbox lights or LED panels to evenly light the green screen.
      5. Microphone: A cardioid mic works well to capture your voice clearly while cutting out unwanted noise.

      If you’re making jingle videos or voice-over visuals, a few extras like over-the-ear headphones, pop filters, and a basic audio interface can help tighten your audio quality without adding too much complexity.

      One Cincinnati-based production tip: several creators use simple gear to record short jingle videos with animated brand elements. The trick is setting it up to work cleanly with your editing software, not how expensive the tools are.

      Spend smart, not big. This keeps your focus on technique and creativity instead of going broke on high-end equipment right away.

      Lighting Tips For Clear Green Screen Results

      Lighting plays a huge part in how effective your green screen setup will be. Without balanced lighting, your software won’t be able to cleanly remove the background. That ends up leaving outlines, color bleed, or strange shadows that distract from your content.

      Here’s how to manage green screen lighting like a pro:

      • Use two lights placed at roughly 45-degree angles pointing at the green screen. This helps spread the light evenly.
      • Have another light to focus directly on the subject. This is often called a key light and helps bring out detail.
      • Put a bit of distance between yourself and the green screen—around three to five feet—to reduce color spill.
      • Whenever possible, add a light behind you shining slightly downward, known as a hair or rim light. This separates you from the background.
      • Use softboxes or diffusers to spread your lighting more gently and reduce harsh shadows.

      Even with basic lighting gear, good placements make a big difference. Set everything up, then step in front of the camera. Move slightly from side to side and check for shadows. Record a short test video and check for any green light bouncing off clothing or hair.

      Balanced lighting helps people focus on what’s being said or shown in the video. That’s especially important if you’re blending visuals with catchy jingles or audio-heavy concepts. If the lighting is clean, your audience will follow the message better without distractions.

      Steps For Setting Up And Testing Your Studio

      Once you’ve got your gear and space ready, it’s finally time to set up. Don’t rush this part. Walking step-by-step helps spot any issues before they cause problems during an actual recording session.

      Follow these steps to build and test your green screen studio:

      1. Hang your green screen. Stretch it tight to avoid wrinkles. Clips or stands help hold everything in place firmly.
      2. Aim lights at the green screen and check that the surface is all lit the same. No dark spots or extra-bright areas.
      3. Position your subject and camera. Use tape on the floor to mark where you’ll stand or sit.
      4. Place your mic close, but not too close. Use a stand or boom arm to avoid capturing desk vibration or air pops.
      5. Record short clips to test lighting, sound, and screen clarity. Play them back and look out for strange colors, echo, or camera shake.
      6. Tweak based on tests. Sometimes it’s as simple as moving a light a foot to the left or turning down the mic gain.

      These little tests can save a ton of headache. No one likes finishing an entire jingle video only to find out your face glows green or the mic picked up distant traffic. Even slight flaws are easier to catch and fix early on rather than during editing.

      If you plan to layer in logos, backdrops, or motion graphics behind voiceover content—whether it’s for a product, a service, or a jingle—proper setup makes blending those elements way easier and cleaner.

      Bringing Your Vision To Life

      Starting your own green screen studio might seem like a big process, but it gives you way more creative control once everything is in place. Instead of hunting for the right visual setup or renting gear for every new content idea, you’ve got your own space ready to test and create on your time. Whether you’re making promo visuals for a radio jingle or adding on-screen animations to highlight your brand’s voice, having a green screen studio right at your fingertips keeps things simple.

      The more you work with your setup, the better you’ll understand how changes in your lighting or audio positioning affect the final clips. That awareness helps you produce content that’s sharp, consistent, and tuned to the kind of message you’re trying to share—whether that’s upbeat, serious, catchy, or educational.

      If you’re looking for a green screen studio rental in Cincinnati or want help setting one up the right way, get in touch with Killerspots Agency at 513-270-2500.

      If you’re looking to take your jingle or radio commercial visuals to the next level, using a green screen studio rental in Cincinnati can help you create sharper, more dynamic content. Killerspots Agency is here to support your creative projects with personalized expertise. To learn more, give us a call at 513-270-2500.

      Professional Video Editing Techniques Using Green Screen Studios

      video editing techniques

      Green screen studios might look pretty simple on the surface, but they’ve changed the video game completely. Whether you’re making commercials, short clips, or full-on productions, they open up a ton of creative space, especially when you’re looking to do more with less. Instead of traveling to ten different places to get the right shots, these studios let you create those looks without leaving the building. The magic starts during filming but really comes to life during editing. That’s where things like background swaps, digital settings, and fun effects all start clicking into place.

      Professional video editing techniques are what take your green screen footage from amateur to polished. And here’s the thing—it’s not just about cutting scenes or syncing sound. It’s about making everything look natural and matching it all together so the end result feels seamless. Whether you’re editing a green screen video to promote a brand, introduce a service, or produce a local radio jingle visual, understanding the right techniques makes a huge difference. So let’s talk about how to set things up and get going the right way.

      Setting Up Your Green Screen Studio

      Before editing even begins, how you set up your green screen space plays a major role in the final outcome. No amount of filtering or software tricks can fully fix a poorly lit scene or a wrinkled backdrop. A good video starts with a smooth and even setup. Here’s what to focus on when you’re inside the green screen studio in Cincinnati:

      1. Pick the Right Spot in the Studio: Choose a location with enough room to move around. Keep your subject at least a few feet away from the green screen wall to prevent shadows and reflection issues. It’s also helpful to have separate zones for the camera, lighting stands, and gear like mics and monitors.
      2. Get Your Lighting Right: Lighting is where things often go off track. If the lighting is uneven, it causes dark corners or bright spots that make editing a lot harder. Make sure your lights are evenly spread across the screen. Use soft lights from both sides to avoid casting big shadows.
      3. Control the Shadows and Reflections: If your subject is too close to the screen, you’ll end up with harsh shadows. Move them a few feet forward, and light them from the front to balance it out. Check how reflective their clothing or props are, too. Shiny objects can pick up the green color and produce weird halos during the editing phase.
      4. Smooth Out the Backdrop: Wrinkles in the screen can create dark lines and mess with the keying process. Pull the fabric tight or use a paintable green surface if that’s an option. A smooth backdrop leads to cleaner edits.
      5. Avoid Wearing Green: This one’s often forgotten, especially during commercial shoots or radio promo visuals. Anyone on camera should avoid wearing green so they don’t disappear when the background gets keyed out later.

      A solid setup makes everything sharper and way easier to edit. Think of it like tuning your instruments before a live recording. If something’s off at the beginning, it’ll stay off no matter how much you tweak it later.

      Key Techniques For Effective Green Screen Editing

      Once recording is done, it’s time to start editing. This is where your green screen video gets brought to life and the background swap magic starts. But getting it to look natural takes some editing know-how. If the lighting doesn’t match or the subject has a weird outline, viewers will spot the fake stuff in a second. Here’s what to keep in mind:

      • Keying the Background: The first step is removing the green screen using a tool called a chroma key. Most editing software has this built in. When done right, you’ll be left with the subject and a transparent layer where the green used to be. Avoid overdoing the settings. A little tweaking goes a long way.
      • Match the Light and Shadows: If your original footage has soft lighting but your digital background is full sunlight, it won’t look right. Try picking background clips or images that feel like they were shot under similar conditions. You can also add some light or shadow in post to blend things better.
      • Smooth Out the Edges: This is one of the trickiest parts. You’ll want to zoom in and make sure there’s no green outline around the subject. Use garbage mattes or edge blending tools to clean up those borders and make everything look natural.
      • Use Color Correction: Color grading helps match skin tones with the background. If you’re editing footage for a radio jingle launch or event ad, keeping consistent color tones helps the brand visuals feel put together.

      These techniques save you from having to reshoot or settle for a weird-looking final product. It’s all about making the footage believable, whether it’s a friendly explainer or a visually packed jingle promotion on local channels. When you start with a good setup and use the right edits, your green screen footage can go a long way.

      Enhancing Your Video With Special Effects

      After the background is cleaned and your subject looks like they belong in the scene, it’s time to add special effects. This step gives your project extra punch and keeps people watching longer. When it’s done well, even a short promo video or radio commercial visual can feel like a high-budget production.

      For green screen videos, digital elements like motion graphics, animated logos, and light flares can pull it all together. These effects are more than just decoration. They help tell the story, keep the visuals exciting, and tie it all back to the brand message. If you’re producing a spot to promote a catchy radio jingle or a local station contest, motion graphics can bring energy and style to the screen in a way that makes the message memorable.

      Here are a few commonly used add-ons that work well in green screen editing:

      • Dynamic Digital Backgrounds: Replace your green screen with moving imagery like a city skyline, concert stage, or news studio. This can create a look that’s professional and context-specific.
      • 3D Text and Logo Animation: Animated text works especially well for callouts, taglines, or showcasing a jingle name. Add movement and character to something as simple as a station ID.
      • Particle Effects: Drops of shimmer, music notes fluttering in, or confetti bursts all help make a music-related piece visually fresh. These are great for seasonal promos or radio sweepstakes.
      • Transitions That Flow: Instead of dry cuts between shots, use transitions that match the tone of the video. Wipes, fades, or dissolves can keep things moving in a way that feels smooth.

      The trick is to use these effects where they add value, not just for flash. Too much can feel random. But when clips, animations, and overlays support the story or sound, they make a big difference. Especially with audio-driven work like jingles, creating a rhythm between the music and what the viewer sees helps the message hit harder.

      Fixing Common Green Screen Problems

      Even if the footage looks good on the camera monitor, issues can pop up during editing that make things difficult. Luckily, most of them can be solved easily once you know what to look for. It’s quicker to identify and catch these problems early rather than patching them later.

      Here are some common green screen snags and how to handle them:

      • Uneven Lighting: When one side of the screen is darker than the other, it creates hot spots and dark corners that are tough to key out. Light the screen separately from the subject to avoid this.
      • Color Spill: If the green bounces onto the subject or reflects off props, it creates a faint green glow on the edges. Try dialing back the green saturation in editing or using color spill reduction features in your software.
      • Soft Edges or “Jaggies”: These show up when the chroma key isn’t clean. Increase the feathering or play with the edge blend settings to smooth out the sharp lines.
      • Shadows and Wrinkles: These appear more often when the subject is too close or the screen isn’t pulled tight. Shift positions or correct it with shadow masking in the editor.

      Before finalizing the video, scrub through the timeline and do a review pass. Watch on different screens for quality. Sometimes what looks fine in a preview window stands out once it’s played full screen. Whether you’re prepping a jingle visual for an online campaign or delivering teaser clips for a radio ad, these reviews help catch those last few adjustments that polish the look.

      Transform Your Videos With Professional Editing Techniques

      Strong green screen editing doesn’t just remove a background. It blends all the elements—live footage, background visuals, special effects, and sound design—into one complete message that drives action or keeps people entertained. Green screen studios give you the space to shoot smart. But it’s the editing that brings the vision to life.

      By planning your studio setup right, using smart lighting techniques, and knowing when and how to layer in effects, your edits will come out cleaner. Matching visuals to music, especially in spots focused on radio jingles or voice-led ads, helps make sure the final product connects with your audience. That’s true whether you’re producing year-round or gearing up for seasonal campaigns.

      Ready to elevate your video projects with top-notch editing techniques? If you’re planning a green screen studio rental in Cincinnati for your next big production, connect with the experts at Killerspots Agency to ensure your visuals hit the mark. With our professional support, transforming your creative visions into reality has never been easier. Whether it’s for jingles, commercials, or special projects, give us a call today at 513-270-2500.

      Professional Video Recording Tips in a Green Screen Studio

      green screen

      Learning how to shoot professional-level videos in a green screen studio doesn’t have to feel complicated. It just takes a solid understanding of your space, the right gear setup, and a sharp eye for detail. Whether you’re working on a commercial spot, a product intro, or even a visual idea for a catchy jingle-based campaign, using a green screen can bring your vision to life in ways a traditional shoot can’t.

      With the right studio setup, you can create anything from crisp talking head videos to dynamic music visuals without ever leaving one room. That’s the beauty of chroma key technology. It’s one of the reasons radio spots and jingle recordings have been blending with video assets more and more. To help you pull off a more polished final result, we’re laying out some easy ways to make your green screen sessions cleaner, smoother, and way more effective.

      Preparing For The Shoot

      The work you do before hitting the record button makes all the difference. A rushed plan shows up quickly in post. That’s why pre-production sets the tone for how professional your video feels, especially on a green screen setup.

      Start by identifying the purpose of the video. Are you supporting a radio jingle with matching visuals? Creating training content? Planning a social ad with green screen animation? Whatever the goal is, lock that in first. From there, you’ll find it easier to make clear choices on script, gear, and studio layout.

      Keep these key steps in mind when planning the shoot:

      • Draft a sharp script. A clear and simple script keeps your message focused. If you’re syncing visuals with a jingle or audio track, rehearse the pacing closely. That sync matters a lot when mixing media.
      • Sketch a basic storyboard. You don’t need to be an artist. Boxes and stick figures work fine. This just helps you get a mental shot list and think about where to place your subject in the frame.
      • Pick the right camera. A camera with manual settings and clean HDMI output is best. You want to control exposure so that nothing looks blown out or too dark. Keep ISO as low as possible to avoid grain.
      • Choose lighting with video in mind. Go with consistent LED lights that don’t flicker. Lighting can either make or break your green screen look, so plan for separate lights for the screen and your subject.
      • Don’t forget audio. Clean audio often gets overlooked. Whether you’re recording a talking segment, ADR, or tying into a jingle, using a proper shotgun mic or lav mic goes a long way.

      Prepping your gear and script helps the shoot stay on track once you’re in the studio. You’ll spend less time troubleshooting and more time getting the shots you actually want.

      Setting Up The Green Screen Studio

      Once you get into the space, how you set up the green screen area really affects how the background blends with your talent. Uneven lighting, wrinkles in the backdrop, or odd subject placement can mess up the key later during editing.

      You want the green to be even and flat, with no hot spots or shadows. That makes the color easy to remove digitally. If you’re renting out a studio, make sure to arrive in time to walk the space, test your lights, and get comfortable with any gear provided.

      Here are some key pointers when setting up:

      • Smooth out the green screen fabric if you’re using cloth
      • Make sure there are no creases, as those create shadows that the camera picks up
      • Try to light the screen separately from your subject. Use two soft lights on either side of the screen, pointed inward
      • Give some distance between your subject and the screen if possible. Five feet of space is a good starting point
      • Use backlighting to separate your subject from the background. This cuts down on spill, which is the green glow that reflects back from the screen onto clothes or skin

      Framing your subject also matters. Center them in the shot, but leave a little headroom and shoulder space. If they’re doing head-turns or hand motions, don’t cut them off too tightly. When recording someone delivering a talking script or singing a jingle, their movement needs to feel natural. You don’t want limbs disappearing offscreen or getting clipped by the edge of the frame.

      Every small adjustment to your setup helps keep the editing process easier and the final product smooth.

      Recording Techniques For Green Screen Videos

      Now that your setup’s ready, it’s time to hit record. But before you do, a few smart adjustments can go a long way toward improving your final footage. Most of the headaches during post-production come from simple mistakes that could have been avoided during filming.

      Start by locking down your camera. A tripod is a must to keep things steady. Avoid handheld shots unless you’re going for a specific look. For green screen work, stable footage makes it easier to key out the background cleanly. Check your white balance too. Don’t count on auto settings. Pick your white balance based on the lighting so the video doesn’t shift colors while recording.

      Use manual focus instead of auto. If your subject moves a lot, autofocus can drift and ruin takes by constantly refocusing mid-shot. Manually dial it in and test a few quick movements to make sure everything stays sharp.

      Here are a few best practices to keep your green screen footage clean and usable:

      • Set ISO low to reduce video noise
      • Avoid wearing green or reflective colors. These can confuse the keying software later
      • Use a separate monitor or preview screen if you’re combining visuals with a jingle. It helps talent know where to look and how to react
      • Use markers or tape for eyeline direction if your talent needs to focus on a virtual object
      • Record multiple takes to give room for editing. Don’t assume the first go is always the best

      When your video lines up with a jingle or voiceover, timing matters. Direct your subject with clear instructions on cadence. Whether they’re lip syncing to a catchy hook or reacting to a voiceover line, guide them through the beat so everything matches up later. Green screen scenes often rely on reactions, gestures, or placement within the frame. Even small details like the timing of a head turn can affect how believable the final composite looks.

      Post-Production Tips That Save Time

      Getting to the editing phase might feel like a relief until you’re staring at mismatched lighting or tricky green spill on your footage. That’s why a good post-production process matters, especially in green screen projects where you’re layering different visual elements.

      Start with keying out the green background. Use editing software that fits your experience level. Even basic programs have chroma key filters now, though some advanced tools give more control over things like edge feathering or spill suppression. Get the cleanest removal you can before jumping into other effects or overlays.

      Match your new background’s lighting to your subject. For example, if your talent is lit from the front but your background scene looks like it’s backlit, the contrast will feel off. You can adjust brightness, shadows, and color tones to improve the blend.

      Audio also plays a big part in selling the video, especially if you’re layering a music jingle under visuals or syncing visuals to a radio-style voiceover. If the audio sounds disconnected, like a voice is in a different space than the visuals, viewers will notice.

      Here are a few editing basics to clean up your final product:

      • Use color correction tools to balance tones between the subject and the background
      • Add ambient sound or light background music to unify the entire sequence
      • Align video cuts with musical beats or audio cues to strengthen pacing
      • Check audio levels for consistency. Make sure no part spikes or drops out unexpectedly

      Whether you’re pairing the visuals with a commercial jingle or just giving a static message some life, your polish matters most. Seamless edits, synced sound, and smooth pacing make even the simplest video feel high-end.

      Mastering Sound And Audio For Green Screen Projects

      Sometimes, audio gets left on the back burner when shooting green screen video. But bad sound can ruin a great-looking result. If you’re tying in a music jingle, branded audio, or any type of spoken vocals, clean sound quality helps everything click.

      The best approach is using a shotgun mic placed just out of frame or a lavalier mic clipped to the subject. Whichever you choose, test for background noise and echo in the space. Even large studios can have distractions if you don’t double-check.

      Some rooms bounce sound in odd ways, especially those with high ceilings or bare walls. Portable foam panels or blankets can help reduce that reverb. If you’re recording a jingle vocal or voiceover during the same session, find a quieter corner or use an isolation booth so you don’t pick up corrupted audio.

      When mixing audio in post:

      • Start by cutting background noise
      • Adjust volume automation rather than making one big level change
      • Use fade ins and outs between scenes or music transitions
      • Pan sounds slightly for more natural stereo space, especially helpful with jingles and music beds

      Think of your audio as part of the entire feel, not just a layer tacked on at the end. When voice, effects, and music feel like they’re in the same space, the video becomes much more believable, even if everything on screen is virtual.

      Bringing Your Visuals and Audio Together

      If you’re renting a green screen studio in Cincinnati, the key is to treat it like a professional stage. Even if you’re working on a short run of radio commercial visuals or adding flair to a local jingle campaign, these techniques work no matter how big or small the project is.

      Walk in prepared. Bring a clean script, time everything out, and make sure your gear fits the space. Use the time to test your angles, re-light if needed, and get feedback from your actors before rolling. Don’t rush in and hit record. You’ll spend more time fixing problems that could’ve been handled with ten extra minutes of planning.

      Whether you’re recording a commercial that blends visuals and voiceover, creating a local jingle with animated flair, or bringing an entire campaign to life, combining green screen precision with smart production choices pays off. A well-executed session means you’re not just making a video. You’re building a memorable experience that holds attention.

      Whether you’re new to video production or a seasoned pro, renting a green screen studio in Cincinnati can take your project to the next level. At Killerspots Agency, we’re here to help make your vision a reality with our top-notch facilities and expert services. For more information or to book your session, reach out to us at 513-270-2500 or explore our options for green screen studio rental in Cincinnati.

      Common Green Screen Recording Problems and Their Solutions

      green screen problems

      Green screens open up a lot of creative options in video production, especially when you want to add custom visuals in post-production. Whether you’re working on a commercial, a promo video, or a jingle-focused campaign, a green screen can provide flexibility and a clean backdrop. But even a small mistake during recording can mess up the results and lead to a lot more editing work later.

      From uneven lighting to poor clothing choices, people run into all kinds of trouble in green screen setups. These issues don’t just lead to longer edit times, they also affect how polished and professional your final product looks. If you’ve ever had weird halos around your subject or dealt with flickering edges in editing, you’re not alone. Thankfully, most green screen recording problems are easy to spot and fix once you know what to look for.

      Uneven Lighting Mistakes in Green Screen Setups

      When green screen recordings don’t come out right, uneven lighting is often the reason. If the green background isn’t lit consistently from edge to edge, it creates shadows or bright spots. These make the digital editing process harder and cause distortion around the subject during keying.

      For example, if you’re filming a radio DJ standing in front of a green screen to promote a new campaign, and there’s a shadow on one side of the screen, you’ll probably end up with a messy edge around their body when trying to replace the background. This throws off the entire promo and adds hours to the post-production timeline.

      Here are a few simple ways to fix lighting problems:

      1. Use soft or diffused lighting such as softboxes or LED panels instead of direct light. Harsh lighting causes glare and uneven exposure.
      2. Set up multiple lights evenly spaced on both sides of the green screen. Keeping the light balanced from each side helps avoid shadows.
      3. Adjust the distance between lights and the screen. This helps prevent hotspots or overly bright patches.
      4. Keep the subject a few feet in front of the screen to avoid casting shadows directly onto it.

      Getting your lighting balanced before the shoot saves editing time and helps your green screen footage look smoother from the start.

      Chroma Key Spills and Reflections

      Spill happens when green light reflects off the background and bounces onto your subject. When that occurs, parts of the person or object may fade or get clipped during editing. This issue shows up most often on shiny clothing or items that reflect light back onto the person being recorded.

      To prevent this, be mindful of these causes:

      1. Reflective clothing, especially metallic fabrics, can bounce green light onto skin or other body parts.
      2. Glossy props like phones or tablets can reflect the green as well.
      3. If the subject stands too close to the screen, more green light spills onto them from the background.

      Here’s how to avoid green spill:

      1. Use non-reflective surfaces and materials throughout your setup.
      2. Increase the distance between your subject and the background to reduce the chance of light bounce.
      3. Angle lights so they’re not aimed directly at the green screen, helping to limit back reflection.
      4. Add backlighting to create visual separation between your subject and the green background.

      Even tiny changes in lighting angles or clothing choices can save you hours of editing and produce a smoother video for your radio or jingle-based content.

      Shadows and Wrinkles on the Green Screen

      Your green screen setup is only as reliable as its surface. Wrinkles, folds, and shadows all lead to uneven keyouts that editing tools can’t cleanly remove. If your green screen looks wavy or has creases, it could end up creating strange blotches in your final footage.

      Shadows are another issue. If a subject is too close to the screen or the lighting isn’t aimed properly, shadows will show up on the screen and affect how the chroma key removes the background. Flickering edges or blurry outlines are often the result.

      To avoid these problems:

      1. Stretch the green screen fabric until it’s completely flat and smooth.
      2. Use clamps or secure stands to keep it tight and in place throughout the shoot.
      3. Position subjects a few feet away from the screen. This also helps with lighting and sound management.
      4. If possible, use a large green screen so you have more space for subject movement or wider framing without edge problems.

      Keeping the surface neat and well-lit creates a cleaner, more professional final look. This is especially important when cutting together fast-paced visuals for jingle ads or radio-driven video content.

      Wardrobe Mistakes That Mess With Your Green Screen

      What your subject wears plays a big role in how your green screen footage turns out. If someone’s wearing green, any part of their clothing that matches the background will vanish when the background is keyed out. That means you could end up with floating heads or missing limbs, which looks unprofessional and distracting.

      Shiny or reflective clothing causes similar issues. Light from the green screen reflects off the fabric and shines into the camera, which can create weird glow effects or transparent areas in your footage.

      Here are some wardrobe tips for green screen shoots:

      1. Don’t wear green or anything with green patterns, no matter how light or dark the shade.
      2. Skip reflective accessories or materials like silver, chrome, or mirrored finishes.
      3. Stick with solid colors like deep blues, browns, or muted reds.
      4. If branded uniforms or costumes are part of the shoot, test them under your actual lights first.

      Wardrobe choices influence how smoothly your footage keys out and how believable the composite background looks. This becomes even more important in jingle or voiceover-focused videos where distractions can pull the viewer’s focus away from the message.

      Don’t Overlook Background Noise

      While visuals matter, audio is just as important. Bad sound won’t be forgiven, even if your video looks good. A common problem in green screen recording is letting background noise leak into the shoot. HVAC systems, distant traffic, hallway echoes, or construction noise can all sneak in and mess with your audio.

      Clean audio is critical for radio spots and jingle-based video content. If your voice can’t be clearly heard, the whole message may get lost.

      Use these simple tips to cut out background noise before it becomes a problem:

      1. Use high-quality directional microphones that pick up only what’s in front of them.
      2. Record inside a treated studio space that’s padded with sound-absorbing materials like acoustic foam or fabric curtains.
      3. Keep your setup away from windows, vents, or other areas where outdoor or shared building noise might leak in.
      4. Limit the number of reflective surfaces in the room to reduce sound echoes and reverb.

      Whether you’re syncing your green screen content to a catchy jingle or filming a voice-heavy promo, your audience won’t stick around if the audio is full of distractions.

      Make Your Green Screen Projects Shine

      Good content depends on solid green screen work. Many of the challenges we see can be fixed with smart planning and attention to details like lighting, spacing, background setup, clothing, and sound. When these details are dialed in, your editing becomes faster and your results more polished.

      For businesses working on radio or jingle ads with visual elements, clean video helps tie the audio message to an engaging visual story without breaking viewer attention. A distraction-free green screen shoot helps your brand speak loud and clear.

      If you’re aiming for clean, smooth results without the usual green screen mistakes, working in a controlled studio environment is the way to go. You’ll get better sound, steadier lighting, and a setup that saves you time in post-production for any local or national campaign.

      Enhance your video projects with the perfect backdrop using a professional green screen studio rental in Cincinnati. Killerspots Agency provides the tools and expertise to elevate your video production, whether you’re creating jingle-driven content or dynamic promotional material. For top-quality results, give us a call at 513-270-2500 or reach out through our contact page.

      Setting Up Proper Lighting in a Green Screen Studio

      green screen rental

      Whether you’re producing a jingle-filled commercial or filming a product demo, green screen studios open up countless creative doors. But none of it works without the right lighting setup. Lighting decides whether you’re blending your subject into a virtual beach or making them look like they’re floating in a glowing green fog. Good lighting lets your green screen serve its real purpose—clean keying and a smooth final product.

      For anyone booking a green screen studio rental in Cincinnati, mastering the lighting setup can save hours of editing frustration later on. It’s not enough to throw up a few lights and hope for the best. You need to know where to place them, how bright they should be, and even what color they cast. That might sound like a lot, but once you break it down, it’s completely doable and worth the effort.

      Understanding the Basics of Lighting

      Before anything else, it helps to understand the concept of three-point lighting. This is a standard approach in video and photo shoots, and green screen work is no different.

      Here’s how it breaks down:

      1. Key Light: This is your main light and usually the brightest. It sits at about a 45-degree angle from your subject, lighting up one side of their face or body.
      2. Fill Light: This one balances out shadows caused by the key light. It goes on the opposite side of the key, at a softer intensity.
      3. Backlight (also called Hair or Rim Light): It shines from behind to separate your subject from the background. This light adds depth and keeps your subject from blending into the green.

      All three lights work together to light the subject while keeping the green background lit evenly. Uneven lighting on green can cause fades, shadows, or hotspots, making editing a nightmare.

      Color temperature is another piece to keep in mind. Lights range from warm (yellowish) to cool (blueish). For green screen work, a consistent color temperature keeps your subject looking natural. Usually, professional setups use daylight-balanced lights (around 5600K) for a fresh and neutral look. Mixing different light colors can lead to odd skin tones or green shades that don’t key out properly.

      A simple example: picture filming a spokesperson for a radio commercial ad. They stand well lit, but the shadow from their elbow shows up as a deep crease on the green screen. That one issue can take hours to fix in post-production. With the right basic lighting setup, it’s solved on the spot.

      Equipment Needed for Proper Lighting

      When it’s time to set up lights, the equipment you choose matters just as much as where you place it. You don’t need to break the bank, but skipping quality gear makes clean green screen work harder to pull off.

      Here’s a breakdown of some common gear used in green screen studios:

      • Softboxes: These diffuse harsh lights and create a soft, even glow. They’re excellent for both key and fill lighting.
      • LED Panels: Bright, cool, and adjustable. Many come with dimmers and color settings built in.
      • Ring Lights: Ideal for head-on shots, they provide even lighting directly in front of the subject, helping reduce facial shadows.
      • Light Stands with Booms: Let you place lights overhead or behind the talent for better backlighting.
      • Reflectors: Often foldable and silver or gold-lined, reflectors help bounce light to soften shadows where needed.

      For those just starting out, LED panel kits are often a great option. They’re versatile and easier to adjust, especially in smaller studio spaces like you’d find with green screen studio rentals in Cincinnati. More advanced users might stack softboxes and LED combinations to get that fully controlled light range across both the subject and the background.

      Getting the gear is one half of the battle. The next step is setting it all up right.

      Step-By-Step Guide to Setting Up Lighting

      Once your lights are unpacked and ready, the setup phase begins. A good lighting setup isn’t just about having the right gear. It’s about where and how you place it. The right setup helps avoid the most common issues like shadows, color spills, and unwanted reflections, all of which can cause problems when trying to key out the green screen later.

      Start by prepping the space. Make sure the green background is as flat as possible with no visible wrinkles or folds. Even with good lighting, uneven surfaces can cast micro shadows or reflect light in awkward ways. Also, check that nothing in the shot shares a similar shade of green. That includes clothes, props, and sometimes even parts of the set design. It’s easier to fix those details before you hit record than to backtrack during editing.

      Next, position your lights. Here’s a quick approach that works well for green screen video projects:

      • Place two soft, even lights on the green background—one on each side—angled slightly inward so the screen glows evenly without hotspots.
      • Use a key light in front of the subject, off to one side at a 45-degree angle, slightly above eye level.
      • Add the fill light on the other side of the subject to reduce shadows on their face, but at a lower intensity.
      • Position the backlight slightly above and behind the subject to help pull them off the background visually.

      Once you’ve placed the lights, do a few test shots. Look at how shadows fall, check for any spots on the screen that are brighter than others, and make sure the light isn’t bouncing off the green and back onto your subject. If areas seem too blown out or dark, adjust the light angles or dimmers if your gear has them. A few trial clips can save loads of editing time.

      Common Mistakes and How to Avoid Them

      Even experienced shooters can run into problems with lighting. Small mistakes end up causing big editing headaches, so spotting them well in advance is key. Here’s a mix of common lighting mistakes and how to stop them before they throw off your shoot.

      • Overexposure: Too much light can wash out your subject or parts of the green screen. This makes it hard to remove the background cleanly.
      • Underexposure: Poor lighting usually results in a grainy video with shadows that flicker when keyed out. Watch for dark spots, especially around the edges of your subject.
      • Shadows on the Screen: Any shadow falling on the green background—whether from equipment, hands, or hair—can snag the keying process. Adjust your fill or front light to erase them.
      • Inconsistent Lighting: When shadows or brightness shift during a take due to unstable lights or changing intensity, it creates a ton of post-production issues. Keep your gear locked in place and avoid manual adjustments mid-recording.
      • Light Spill: When the green light bounces from the background and reflects onto your subject’s skin or clothes, it causes green coloring. Use smaller light sources, flags, or space-outs to reduce it.

      If you’re unsure whether something’s off, step away for a fresh look or get a second set of eyes. Mistakes like these seem small but can freeze your progress for hours in post. Fix them on-set whenever possible.

      Making Your Green Screen Studio Shine

      Lighting is where a green screen studio either works perfectly or falls flat. Getting the setup right may take a few tries, especially with different types of subject matter, whether that’s someone recording a radio jingle commercial or hosting a product spotlight video. Each production has its own challenges, but lighting remains the make-or-break part of pulling off a clean finished video.

      By understanding where to place lights and avoiding the more common slip-ups, you’ll save both time and effort and probably a few headaches later on. Clean keying, natural skin tones, and professional-looking content all start with the lighting plan. It really is what separates amateur-looking clips from polished ones.

      If you’re looking into green screen studio rental in Cincinnati, getting your lighting setup right from the start makes everything easier. To make the process smoother from start to finish, reach out to us at 513-270-2500. Our studio is built for professionals who need great results without all the hassle.

      Ready to take your video projects to the next level? If you’re looking for a professional setup that makes filming easy, our green screen studio rental in Cincinnati is the perfect fit. Killerspots Agency is here to help you bring your vision to life with expert support every step of the way. Call us at 513-270-2500 or reach out through our contact page to get started.