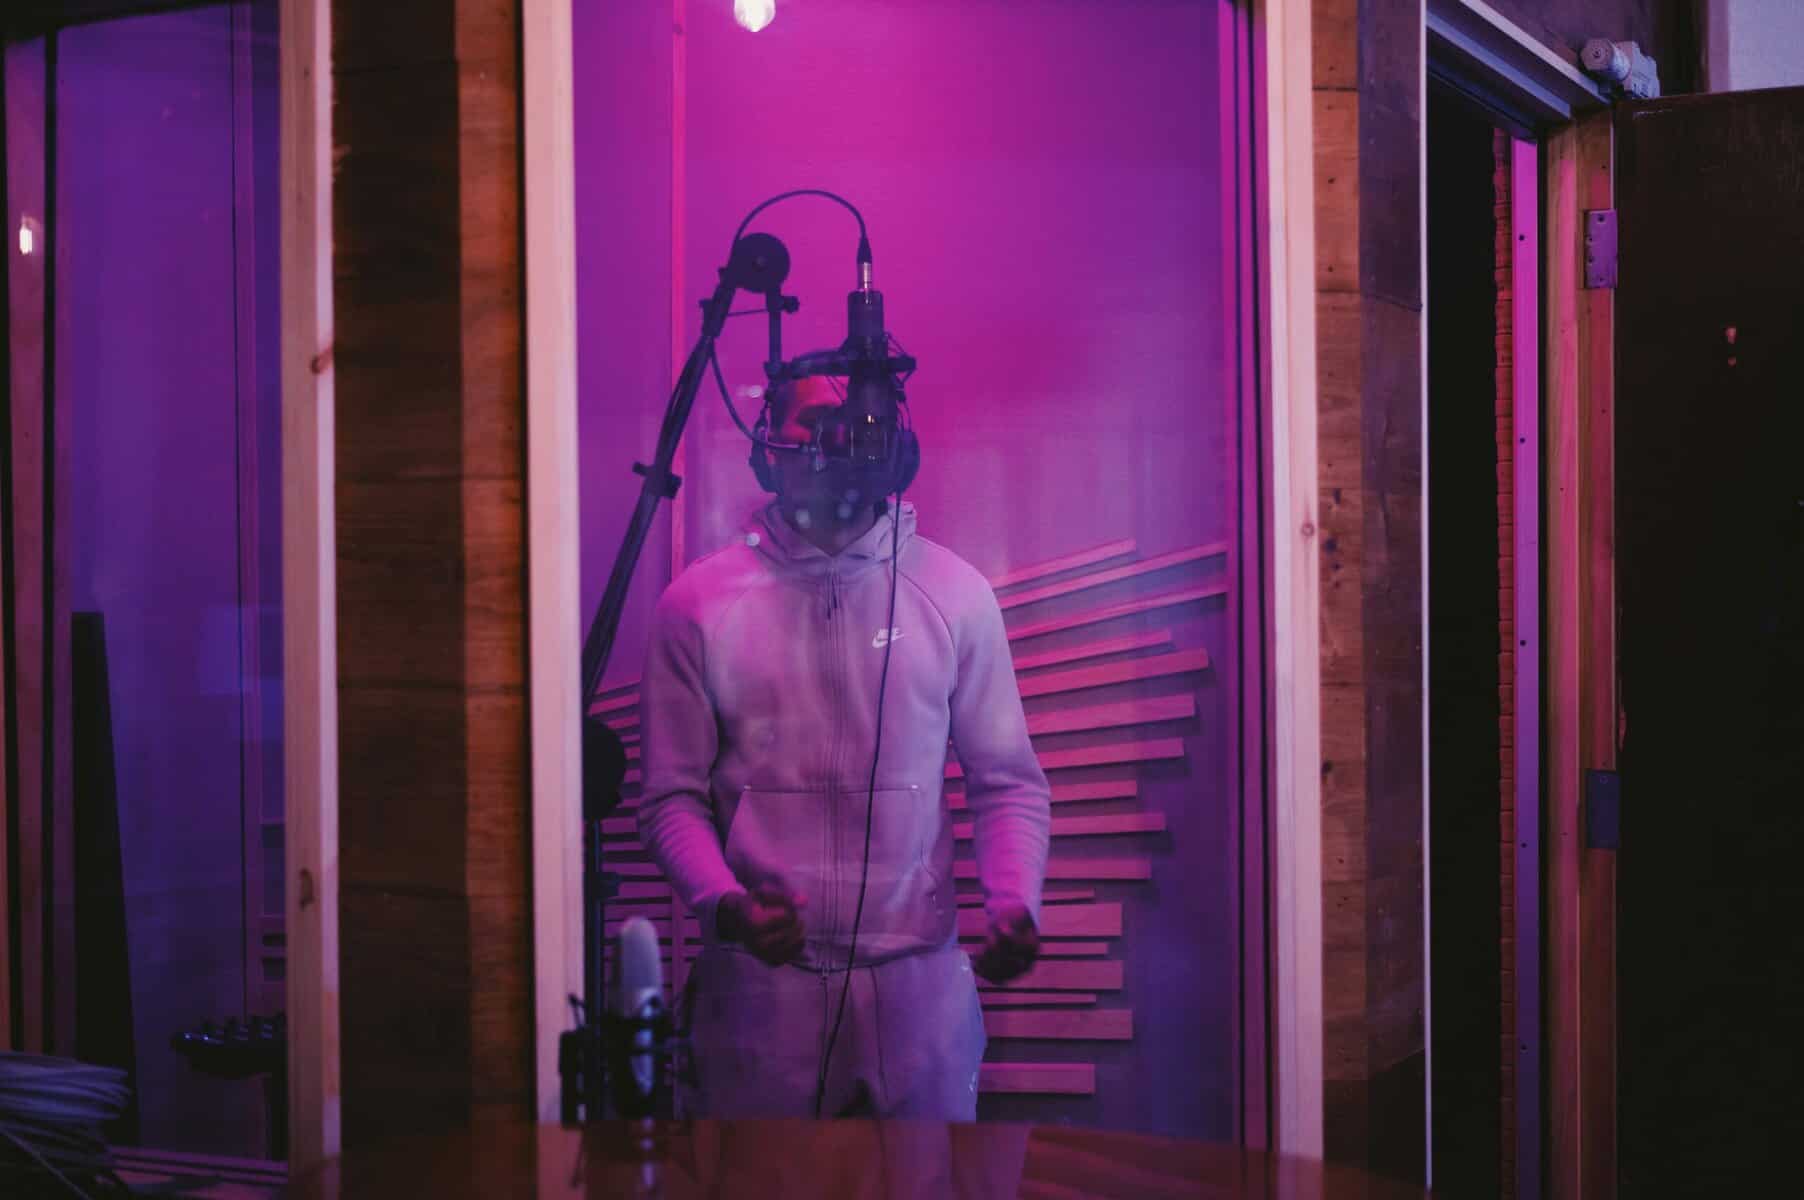
In the highly competitive realm of audio-based marketing and entertainment, ensuring that your audio projects are professionally recorded and produced is integral to effectively captivate and engage your target audience. As a contagiously creative, full-service digital marketing agency and production house, Killerspots Agency offers state-of-the-art studio recording services designed to help your audio projects flourish.
Since 1999, Killerspots Agency has been serving clients worldwide in various aspects of digital media advertising, including radio production, jingle production, TV and video production, social media, studio rentals, and SEO. Our commitment to excellence and dedication to delivering extraordinary services have made us the preferred choice for brands seeking high-quality studio recording services for radio commercials, jingles, podcasts, and more.
In this article, we will explore the benefits of utilizing professional studio recording services in creating compelling audio content and how Killerspots Agency can help your brand achieve exceptional results. We will also discuss the various services offered in our state-of-the-art recording studios and explain how our experienced team of engineers, producers, and artists work closely with you throughout the process to ensure your project’s success. To learn more about Killerspots Agency’s professional studio recording services, call us at 513-270-2500 or visit our contact page.
Benefits of Professional Studio Recording Services
Investing in professional studio recording services is crucial for creating captivating and high-quality audio content that resonates with your target audience. Here are some reasons why partnering with Killerspots Agency for your recording projects can make a significant difference:
1. Premium Sound Quality: Our state-of-the-art recording studios are equipped with the latest technology and tools, ensuring that your audio projects are captured with the utmost clarity and precision. This guarantees a professional and polished final product that meets or exceeds industry standards.
2. Expertise and Experience: Our team of seasoned engineers, producers, and artists bring a wealth of experience to your project, helping you navigate the complexities of audio production and ensure the best results possible.
3. Efficiency and Time Savings: By utilizing our professional studios, you can expedite the recording process, saving time and effort that can be invested in other aspects of your brand’s marketing strategy.
4. Creative Collaboration: Working with a team of experienced audio professionals provides you with valuable insights and creative input that can significantly enhance your project, resulting in a more engaging and memorable end product.
Services Offered in Our State-of-the-Art Recording Studios
At Killerspots Agency, our state-of-the-art recording studios are designed to cater to various audio production requirements, offering a range of services to help your brand’s projects shine:
1. Voiceover Recording: Our studios provide the perfect environment for capturing pristine voiceovers for radio commercials, podcasts, and more. Our diverse roster of voice talent ensures you will find the perfect voice to represent your brand and engage your listeners.
2. Jingle Production: Our team of composers, lyricists, and musicians work closely with you to create custom jingles that enhance your commercials, making your brand instantly recognizable and memorable.
3. Podcast Production: Our professional recording studios are ideal for producing polished and high-quality podcasts that captivate your listeners and keep them coming back for more.
4. Post-Production Services: Our experienced audio engineers offer comprehensive post-production services, including editing, mixing, and mastering to ensure your audio projects are impeccably presented and professionally polished.
Working with Killerspots Agency’s Experienced Team
Our team of professionals at Killerspots Agency is dedicated to collaborating with you throughout the recording process, ensuring your project’s success:
1. Project Consultation: During the initial consultation, we will discuss your project goals, target audience, and requirements, allowing us to develop a tailored approach to your recording needs.
2. Recording and Production: Our engineers and producers work closely with you during the recording process, offering guidance and feedback to ensure that your audio project is captured to the highest quality and aligns with your brand’s objectives.
3. Post-Production Collaboration: Our post-production services are designed to refine and perfect your audio project. We work closely with you to make any necessary adjustments and refinements, ensuring that the final product meets or exceeds your expectations.
4. Delivery and Support: We pride ourselves on delivering audio projects on time and within budget, ensuring a seamless and stress-free experience for our clients. Our team is also available to provide ongoing support and guidance if needed, ensuring your project’s continued success.
Conclusion
In an increasingly competitive market, creating captivating and professional audio content is essential to your brand’s success. By partnering with Killerspots Agency, an advertising and branding agency, for your professional studio recording needs, you can leverage our unparalleled expertise, state-of-the-art facilities, and collaborative approach to elevate your audio projects and make a lasting impact on your target audience. With our diverse range of services and commitment to excellence, you can trust Killerspots Agency to deliver exceptional results for your brand’s audio projects. To learn more about our professional studio recording services, call us at 513-270-2500 or visit our contact page.
In an increasingly competitive market, creating captivating and professional audio content is essential to your brand’s success. By partnering with Killerspots Agency, an advertising and branding agency, for your professional studio recording needs, you can leverage our unparalleled expertise, state-of-the-art facilities, and collaborative approach to elevate your audio projects and make a lasting impact on your target audience. With our diverse range of services and commitment to excellence, you can trust Killerspots Agency to deliver exceptional results for your brand’s audio projects. To learn more about our professional studio recording services, call us at 513-270-2500 or visit our contact page.


